
Start with the room size and layout
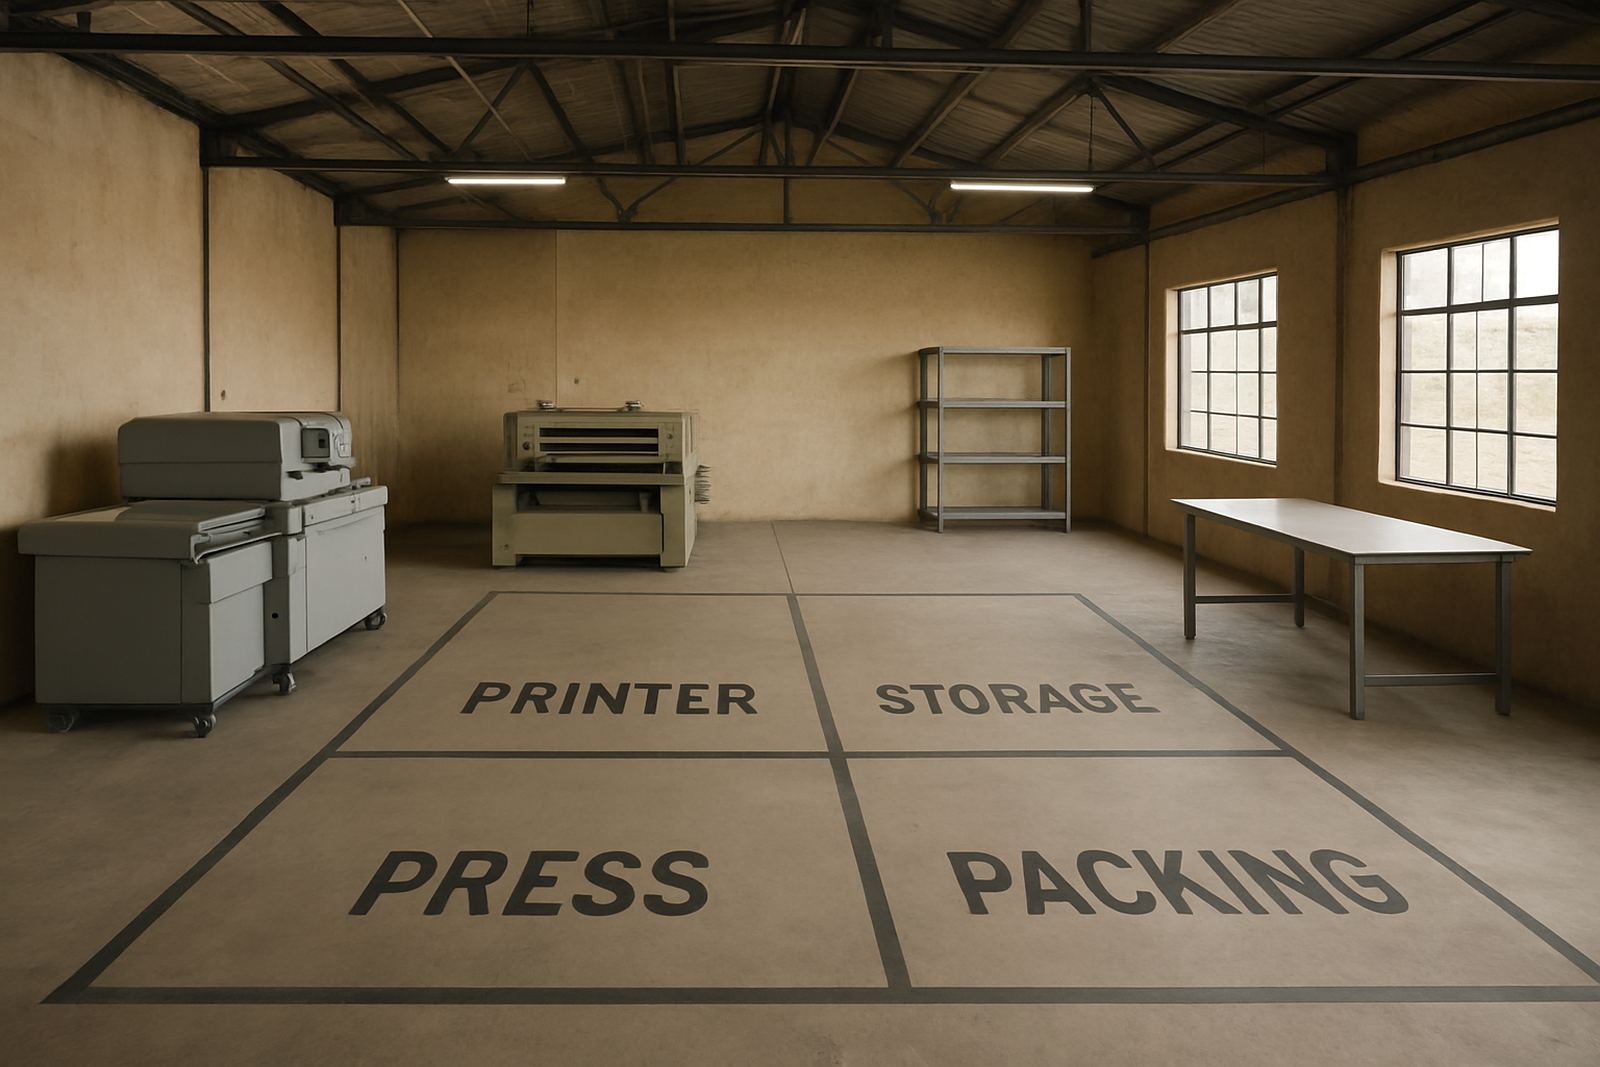
Before you move a printer or press into place, measure the room properly. Leave enough space for loading media, opening covers, changing consumables and moving finished work without bumping corners. In many Midrand, Sandton and Pretoria sites, a narrow room becomes the main bottleneck long before the machine reaches its rated output. As a practical guide, allow at least 900 mm behind a machine, 1 200 mm on the operator side, and enough clearance at the front for rolls, trays or garment handling. If you work with large format media or transfer equipment, plan for a straight path from receiving to finishing. A tight corner can slow down every job.
Think about the floor as well. The surface should be level, dry and able to carry the weight of the machine plus stock and pallets. Concrete is usually best, but keep dust under control. In busy areas like the East Rand, fine dust and carton debris can affect printheads, sensors and media handling if housekeeping is weak. Place working tables close enough to reduce walking, but not so close that people interfere with each other during setup or cleaning.
- Measure door widths, corridor turns and lift access before delivery.
- Mark machine positions on the floor so the layout is clear to everyone.
- Keep a dedicated space for waste, packaging and empty consumables.
- Leave room for future equipment, not only the first machine.
Check power, backup and earthing first
Printing equipment does not like unstable power. Before installation, confirm the supply voltage, available amperage and socket position for each machine. A lot of production problems come from simple electrical issues rather than the printer itself. In many South African sites, load-shedding and voltage dips make backup planning essential. If you have a generator or inverter, check that it supports the machine startup load and does not create spikes when switching over. A clean shutdown is better than a forced one every time the power cuts.
Earthing should be checked by a qualified electrician. Good earthing protects control boards, heaters and sensitive electronics. If your room also runs heaters, compressors or drying units, keep those on separate circuits where possible. Extension cords should not be part of the permanent setup. They get kicked loose, overheat, and cause avoidable faults.
- Confirm voltage, plugs and breaker sizes before installation day.
- Use surge protection on sensitive control equipment.
- Separate high-load items from the printer circuit where possible.
- Record the shut-down sequence for outages and after-hours work.
If your print room serves clients across Gauteng or into neighbouring countries, downtime costs more than electricity. A proper power plan keeps small jobs moving even when the grid is not reliable.
Control heat, dust and fumes
Ventilation matters whether you print garments, labels or transfer media. Heat builds up quickly in closed rooms, especially during summer in Johannesburg or on the humid coast if you are supplying stock to Durban or Maputo routes. A hot room shortens component life, affects media handling and makes operator mistakes more likely. If the room has dryers, curing units or adhesive processes, extract warm air and replace it with fresh air. Do not let fumes build up around workstations.
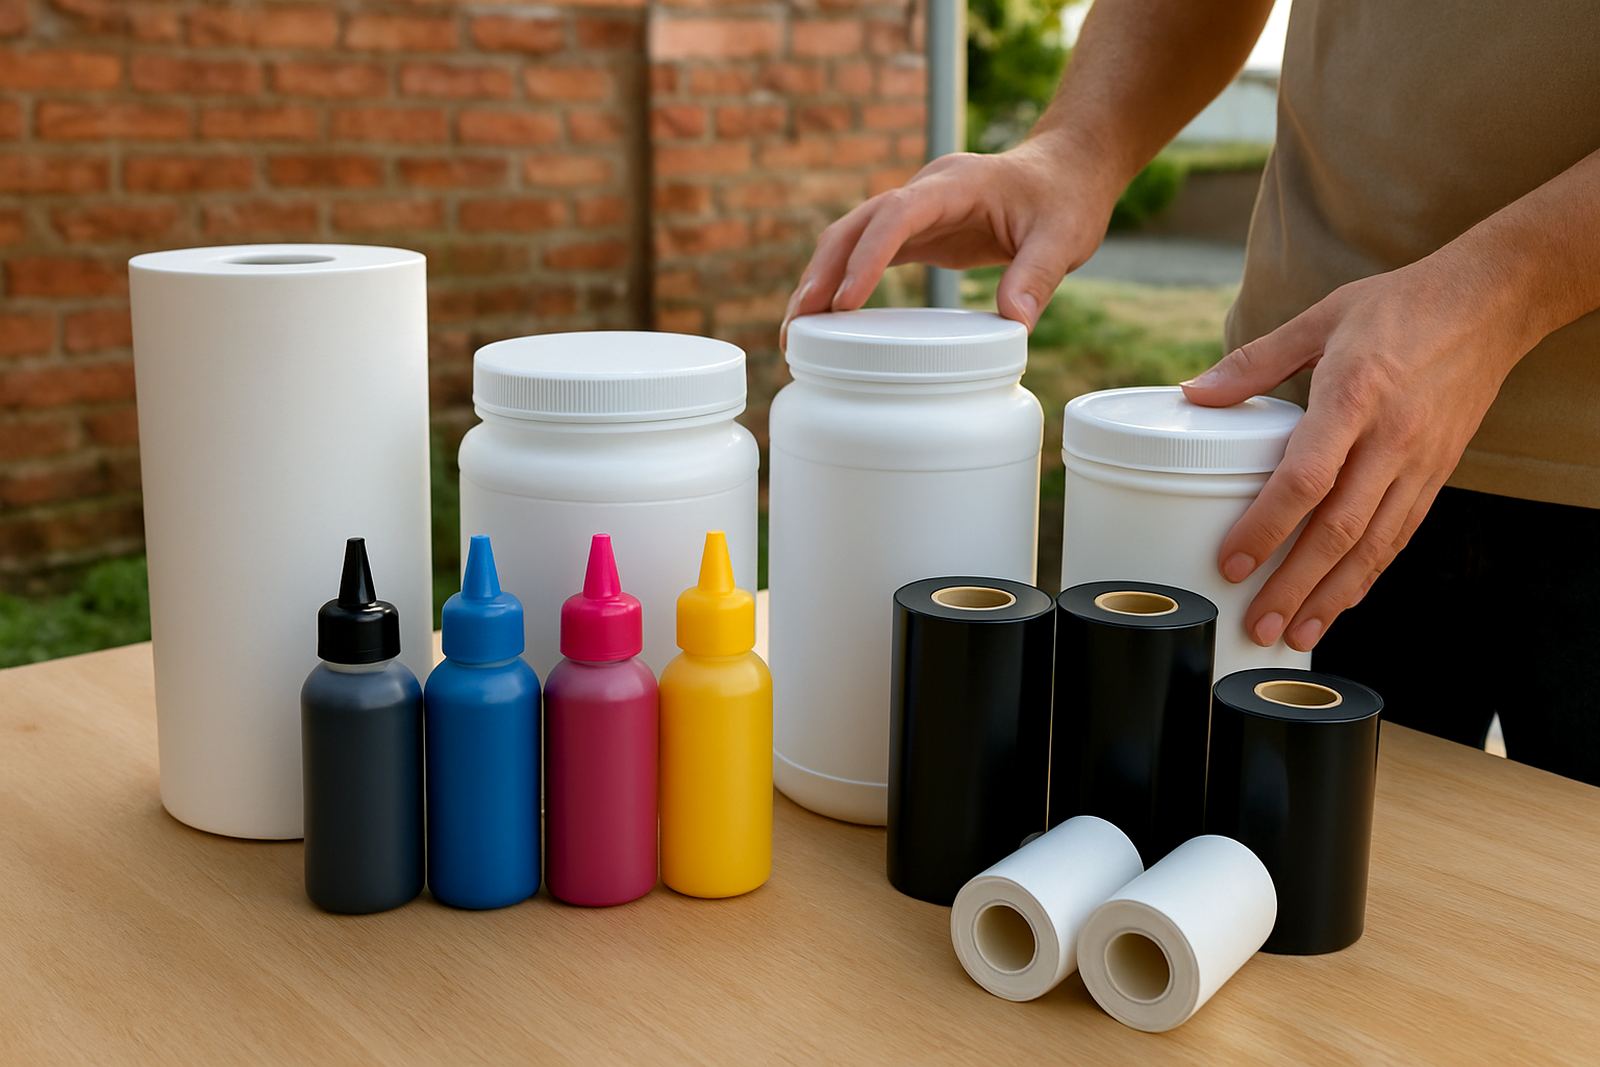
Dust control is just as important. Keep windows and doors managed so outside dirt does not blow over open media or exposed consumables. Store toners, films and transfer media in sealed packaging until needed. Avoid placing open rolls near traffic paths. Cleaning should be part of the day, not something done when problems appear. A quick vacuum or mop between shifts is usually better than trying to fix contamination later.
- Install extraction or extractor fans where heat or fumes collect.
- Keep windows screened if the room faces traffic or workshop areas.
- Store consumables off the floor in a dry cupboard or shelving.
- Wipe down worktops at the start and end of each shift.
If humidity is high, make sure media is acclimatised in the room before printing. Cold stock from a delivery truck can curl, stick or feed badly. Give it time to settle, then print once the room and material are at a stable temperature.
Set a clean workflow from receiving to dispatch
A good print room has a clear path. Stock comes in one side, printing happens in the middle, finishing and packing happen at the other side. That simple flow reduces mix-ups and keeps operators from crossing over each other with live jobs. For short-run colour work, especially garment decoration and label production, job control is as important as the machine itself. Keep a small, fixed space for job tickets, sample approval and written notes so orders do not rely on memory.
Label every shelf, roll and box. If you use multiple media types, mark them by width, finish and intended use. The same applies to inks, toners and transfer consumables. Many faults come from the wrong media being loaded, or from old stock being mixed with fresh stock. Make sure finished goods have a hold area, a packing area and a dispatch area. That way completed work does not end up under new jobs or near solvent, dust or heat.
- Use one route for incoming stock and another for outgoing orders.
- Keep approved artwork, test prints and production notes together.
- Separate urgent jobs from reprints and sample work.
- Check job tickets before printing, not after the run starts.
When the workflow is clear, training new staff becomes easier and mistakes drop quickly. It also makes preventive maintenance less disruptive because people know where items belong and when a machine is out of action.
Build a maintenance point into the room
Every print room should have a proper maintenance point with cleaning cloths, gloves, approved fluids, waste containers and basic tools. Keep it close enough to use daily, but away from active media and finished stock. If a machine needs printhead care, roller cleaning or alignment checks, you do not want operators hunting for supplies across the building. A small, organised maintenance point also helps after a breakdown when the room is under pressure.
Plan a place for logs as well. Record service dates, part changes, colour calibration notes and recurring issues. This is useful for machine installation follow-ups, remote support calls and warranty questions. If you operate in several branches like Midrand, Sandton or the East Rand, a shared log helps the team spot patterns faster. It also shows when consumable planning needs to be adjusted before stock runs out.
- Keep a daily cleaning checklist on the wall.
- Store spare parts and consumables in a dry, labelled cabinet.
- Note any unusual noises, feed issues or colour shifts immediately.
- Schedule maintenance before peaks, not only after faults.
A tidy maintenance point saves time and helps the machine last longer. It also gives technicians a proper starting point when they arrive for preventive maintenance or breakdown repairs.
Train operators and set room rules
Even a well-planned room can struggle if the people in it are not trained properly. Every operator should know start-up, shut-down, cleaning, basic fault checks and when to call for help. Training should be practical and done on the actual machine, not only in theory. In busy shops, clear room rules prevent confusion when multiple staff members share the same equipment. Keep safety rules visible and make sure new staff sign off after they have been shown each step.
Rules should cover PPE, food and drink, phone use near machines, handling of sharp tools and what to do during power cuts. If the room uses heaters or curing units, set a strict no-touch area around hot surfaces. For businesses supplying across South Africa and into neighbouring countries, standardising these rules helps maintain the same quality in every site.
- Show each operator the correct start-up and shut-down sequence.
- Explain what is normal noise, smell and temperature for the room.
- Keep emergency numbers, electrician contacts and service details visible.
- Review the setup after the first week, then again after the first month.
A print room works best when the layout, power, airflow and people all support the same goal. Get those basics right, and the room becomes easier to run, safer to work in and better prepared for colour-critical production.