
Start with a repeatable file and a known reference
If a reprint must match last month’s output, begin with the same artwork version, same colour values, and the same export settings. A small change in file preparation can push reds warmer, blues flatter, or blacks a bit muddy. Keep a master reference print that was approved under the right lighting, then compare every new run against it before you open the full job.
For shops handling both transfer work and labels, it helps to note the substrate, rip settings, ink set, media type, and operator name on the job card. That way you can trace a shift back to the point where it started instead of guessing after the fact.
- Use the same artwork file name and revision for repeat jobs
- Keep one approved hard copy for colour matching
- Record media, settings, date, and operator on every run
- Check the file in the same viewing light each time
Match media before you chase the colour
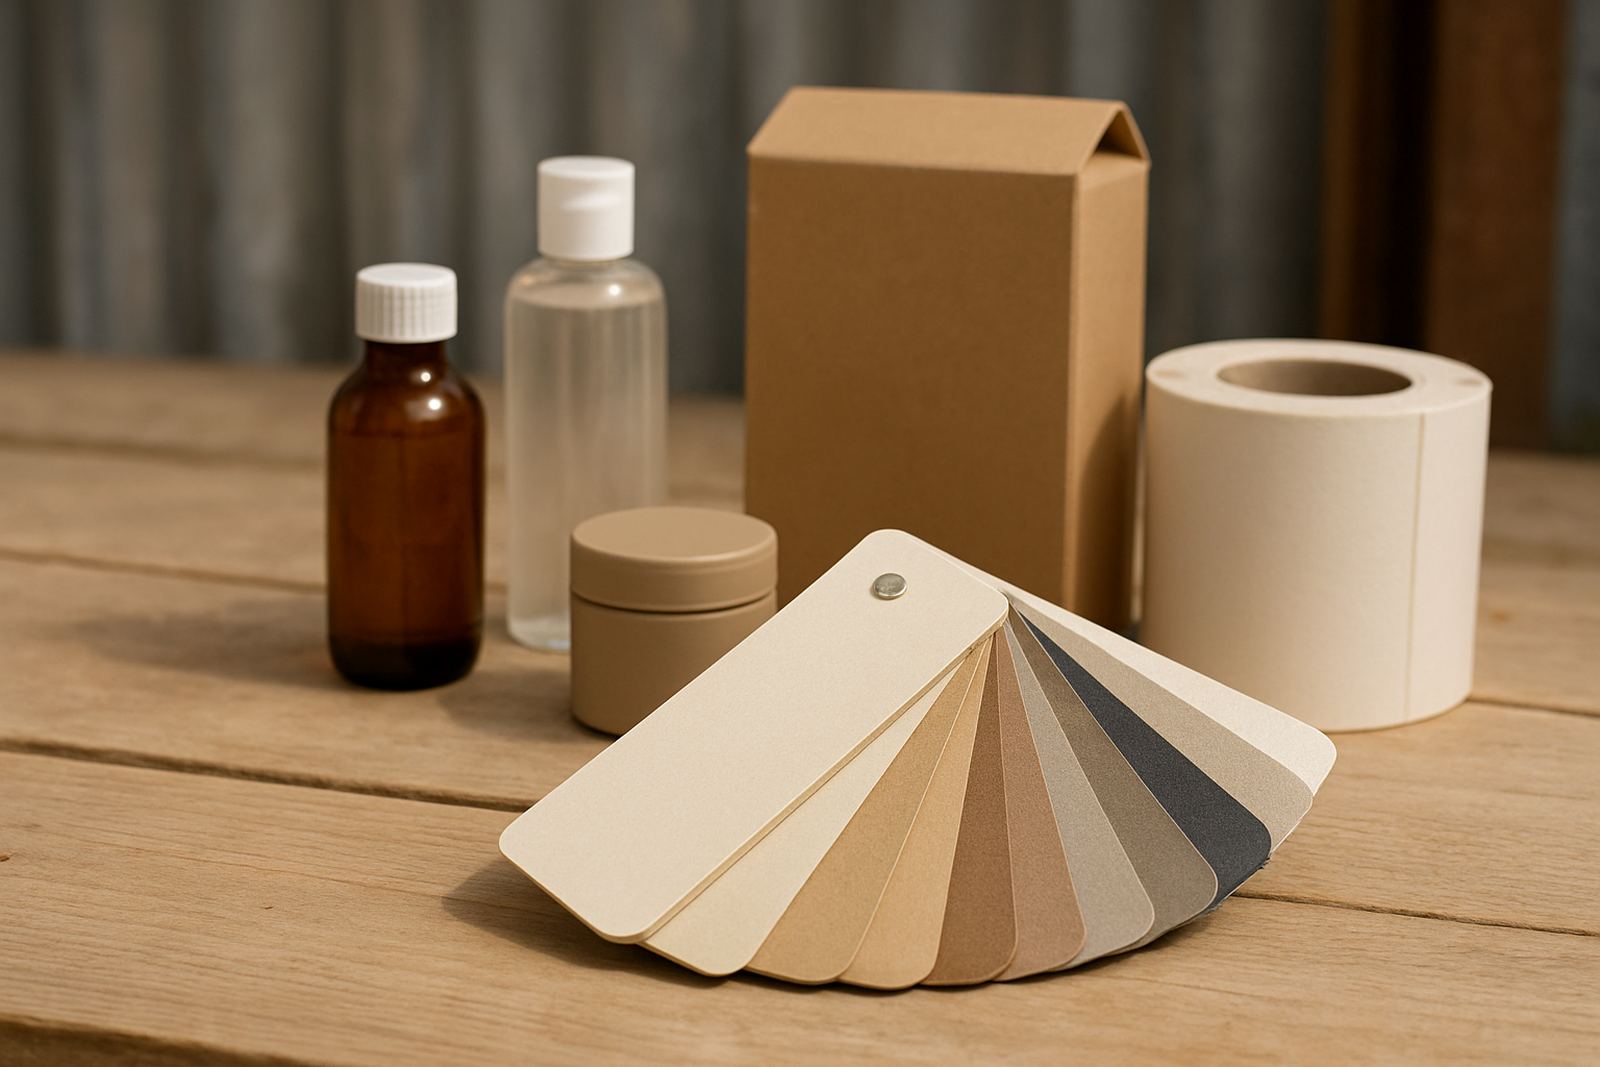
Colour often drifts because the media changed, not because the printer failed. A coated label stock, a bright white transfer film, and a matte garment film all take ink differently. If the media absorbs more ink than the last batch, the same numbers on screen can print darker or cooler. This is common with imported rolls, and it gets worse in coastal humidity where rolls pick up moisture during storage.
Keep media sealed until use, store it flat where possible, and let cold stock acclimatise in the print room for at least 24 hours. If a batch is opened in a warehouse at 14 degrees and moved into a hot Midrand production area, the surface can change enough to affect colour density.
- Confirm the exact media type before printing a repeat job
- Allow new rolls to acclimatise for 24 hours
- Keep opened rolls wrapped when not in use
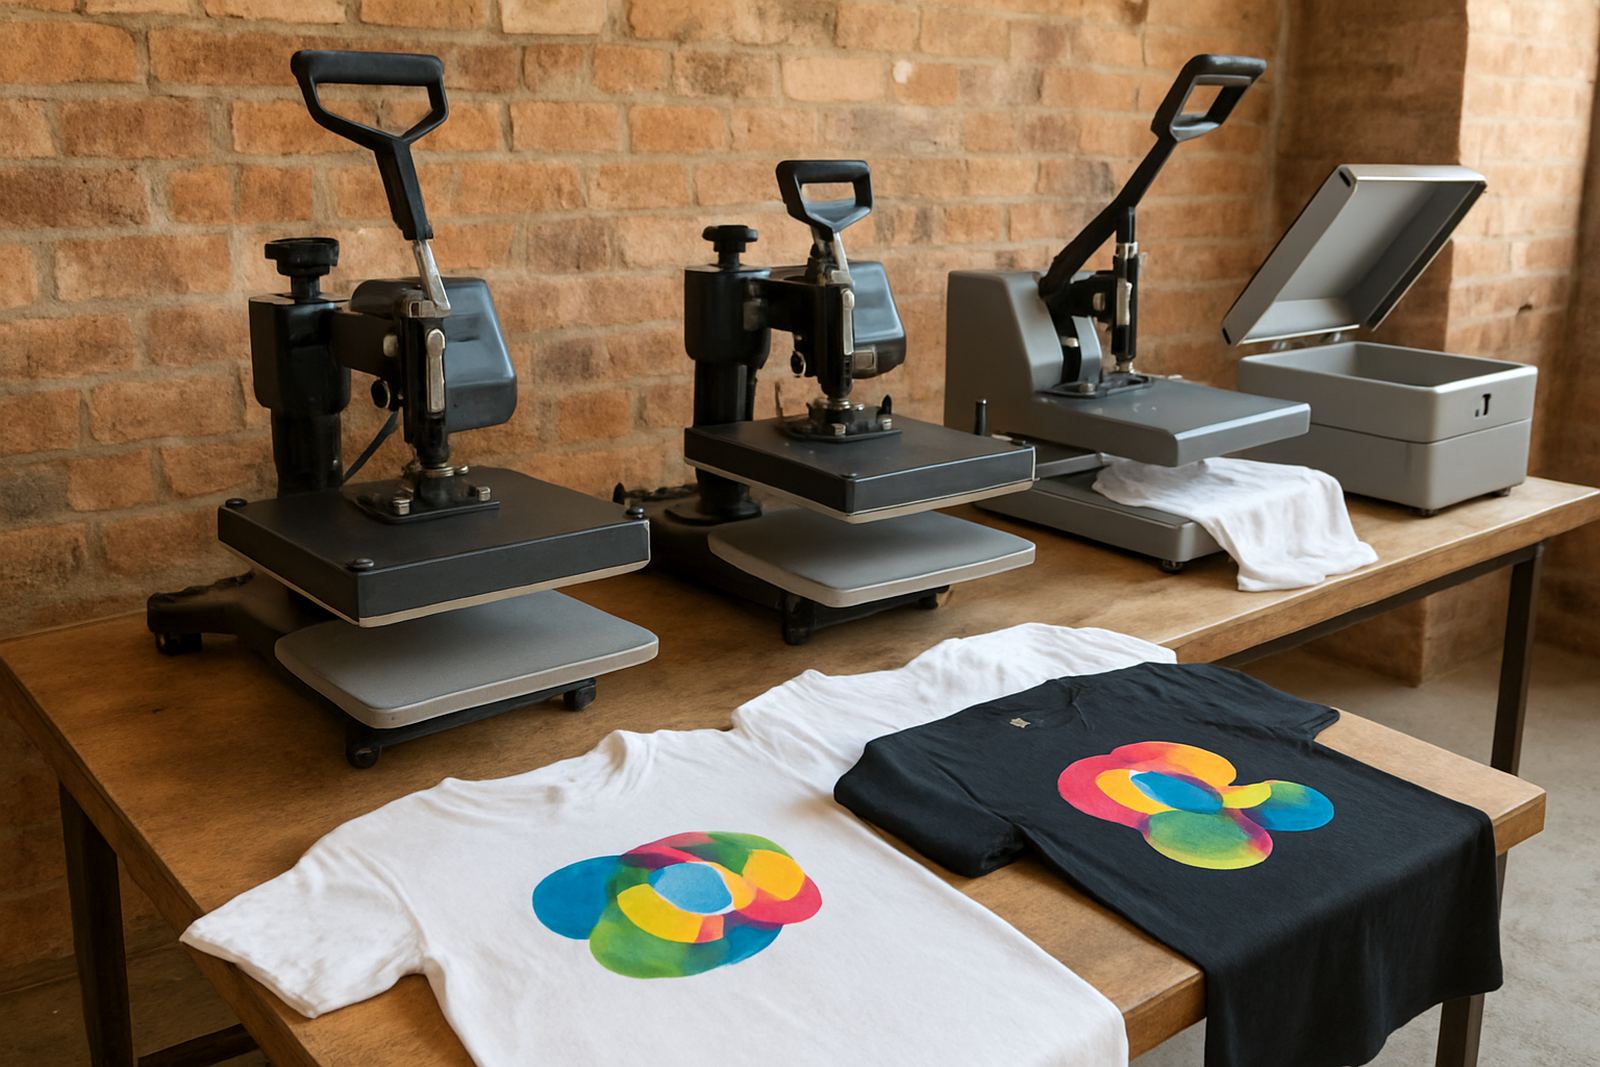
- Separate media by application: garment, label, proof, production
Build a colour check routine for every shift
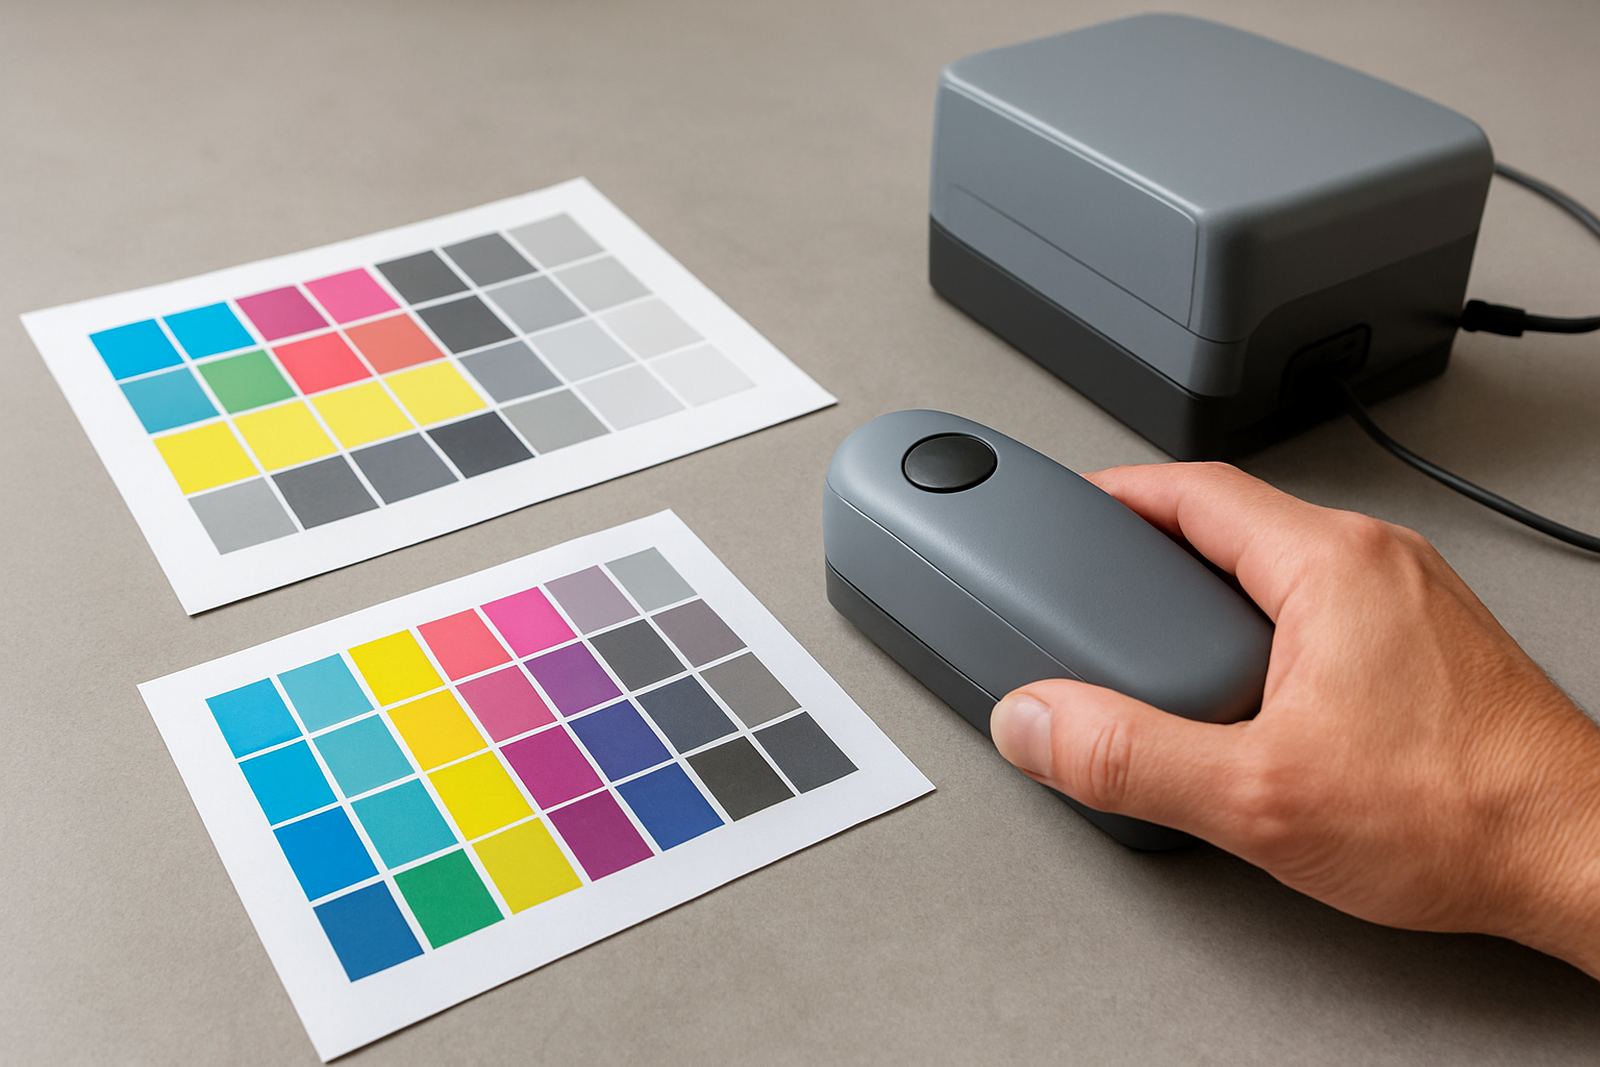
The easiest way to keep colour steady is to make the first 10 minutes of each shift count. Print a short colour strip, inspect it under controlled light, and compare it to the last approved sample. If the day starts with a drift, you catch it before a full roll is wasted. This is especially useful after power interruptions, overnight shut-downs, or long weekends when ink settling and temperature shifts can throw things off.
A simple routine also helps new operators. When everyone follows the same sequence, colour correction becomes a process instead of a debate.
- Print a standard colour strip at shift start
- Check for banding, patchiness, and missing nozzles
- Compare to the approved sample under the same light
- Log any correction made before production starts
Keep the printer clean and the printhead healthy
Ink systems are unforgiving when maintenance slips. Dust, dry ink, and clogged nozzles can change hue and density across a job, especially on short-run colour work where every sheet or metre matters. Preventive cleaning should be done before faults become visible. For shops in Johannesburg, this is even more important during dry winter months when static and airborne dust can build up quickly.
Printhead care is not only about cleaning. It includes correct storage, regular test prints, and avoiding long idle periods. If the machine sits unused for days during load-shedding or slow trading periods, start-up checks need to be stricter.
- Run nozzle checks before production
- Clean around the carriage, platen, and feed path daily
- Never ignore slight drop-outs on a test print
- Keep spare cleaning supplies and wipes on hand
Use profiling and calibration to tame mixed media jobs
When a shop moves between labels, garment transfer media, and proofing material, the safest path is to profile each media properly. Colour calibration sets the printer to a known state, while media profiling tells the system how that specific surface behaves. Without both, one job may look fine and the next may come out a bit off, even if the artwork is the same.
For mixed media work, do not assume one setting fits all. A small profile library for your top five materials can save hours each week. It also helps with reorders from clients in Pretoria, Sandton, or across the border when they expect the same result every time.
- Calibrate before profiling
- Keep a separate profile for each major media type
- Retest profiles after consumable changes
- Update profiles when a supplier changes batch or coating
Create a simple troubleshooting checklist before calling it a fault
Not every colour complaint means the machine is broken. Start with the basics: artwork, media, lighting, settings, and nozzle condition. A dull black might be caused by the wrong feed speed, while a shift in skin tones may come from a warm viewing area rather than the print itself. Keep the checklist near the machine so operators use the same steps each time.
When the issue remains after the standard checks, then it is time to escalate. That saves time and avoids unnecessary parts replacement.
- Confirm the approved file and settings
- Check media batch and storage conditions
- Inspect the test print under neutral light
- Review recent cleaning, maintenance, and power events
Good colour control is mostly about discipline. The shops that hold colour best are not guessing between runs, they are recording, checking, and correcting early.