
Start with the same conditions every morning
Calibration only tells you something useful when the starting point stays the same. In a busy Midrand shop, that means switching on the machine early enough for it to warm up properly, checking room temperature, and making sure humidity has not changed too much overnight. Coastal customers in Durban often see media behave differently after a damp night, while inland shops around Pretoria may notice static and temperature swings after load-shedding. That variation can shift dot gain and colour balance, so the first routine is simple: make every day begin the same way.
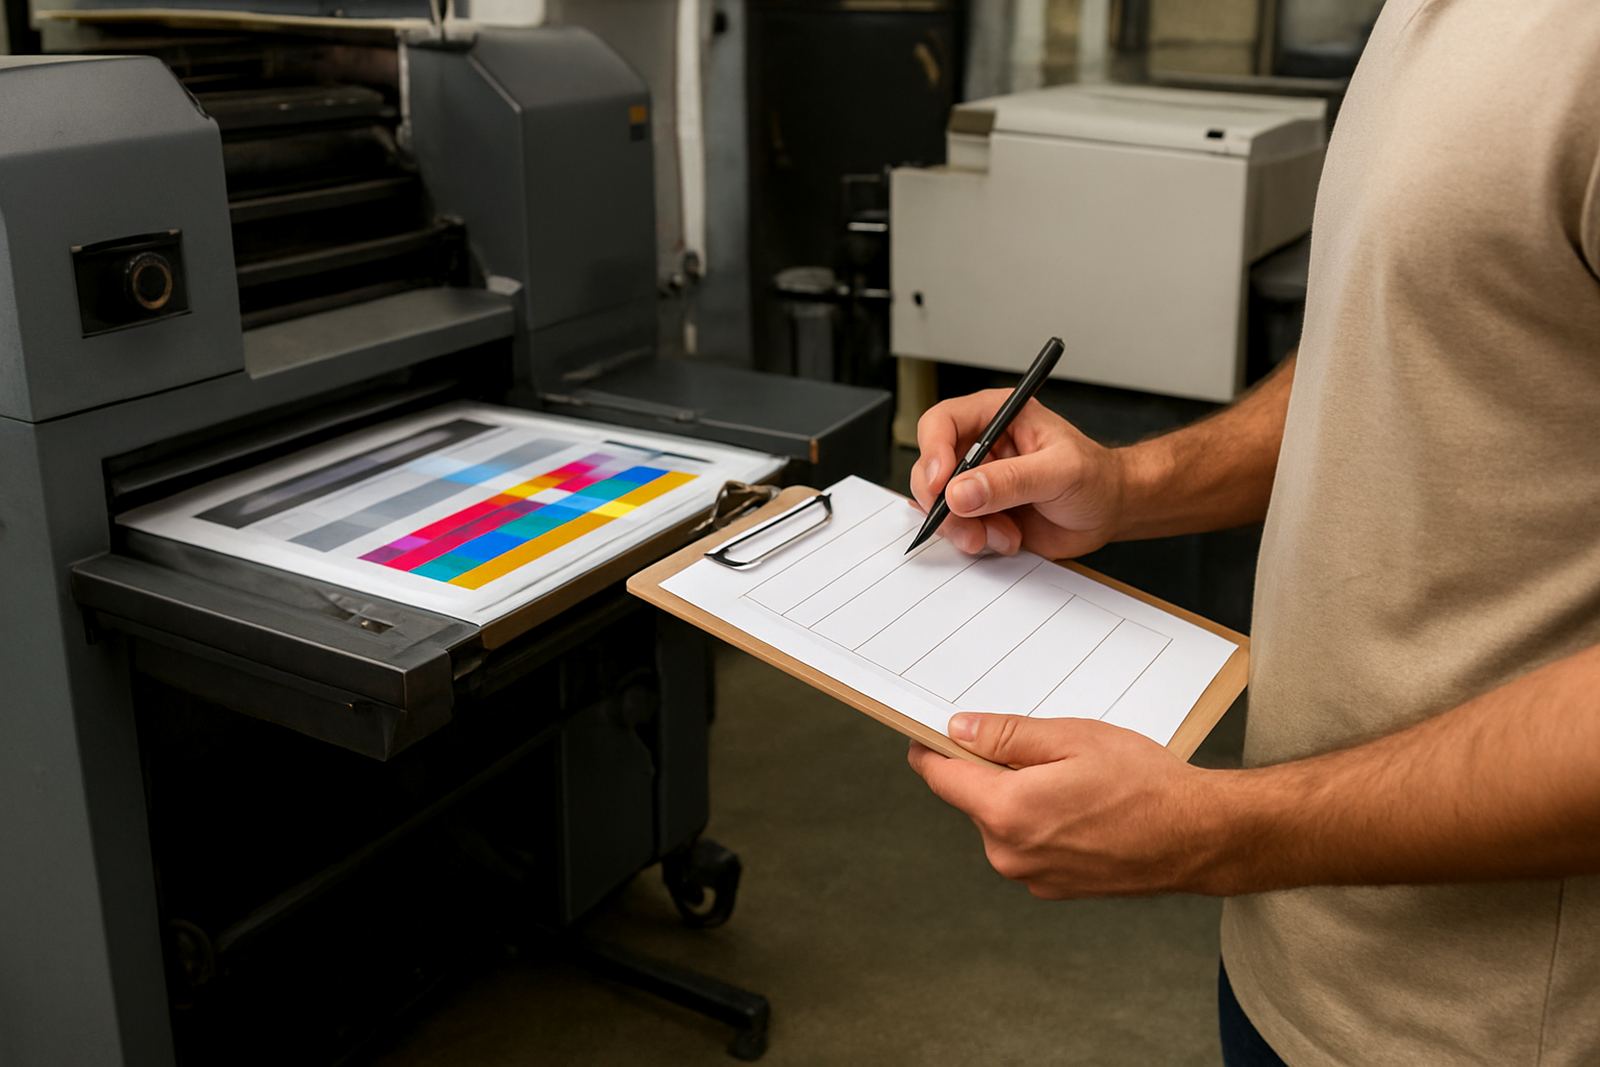
Before the first job, print a short control strip or test pattern and compare it with your stored reference. You are not looking for perfection, just consistency. If the same file printed well yesterday but looks weak or warm today, that is a clue worth catching before the rest of the run goes out.
Build a quick checklist the operator can actually follow
Calibration falls apart when the process lives in one person’s head. Put a short checklist next to the machine and keep it practical. The operator should be able to complete it in a few minutes without stopping the whole shift.
- Check media is the same type and batch used for the last successful job.
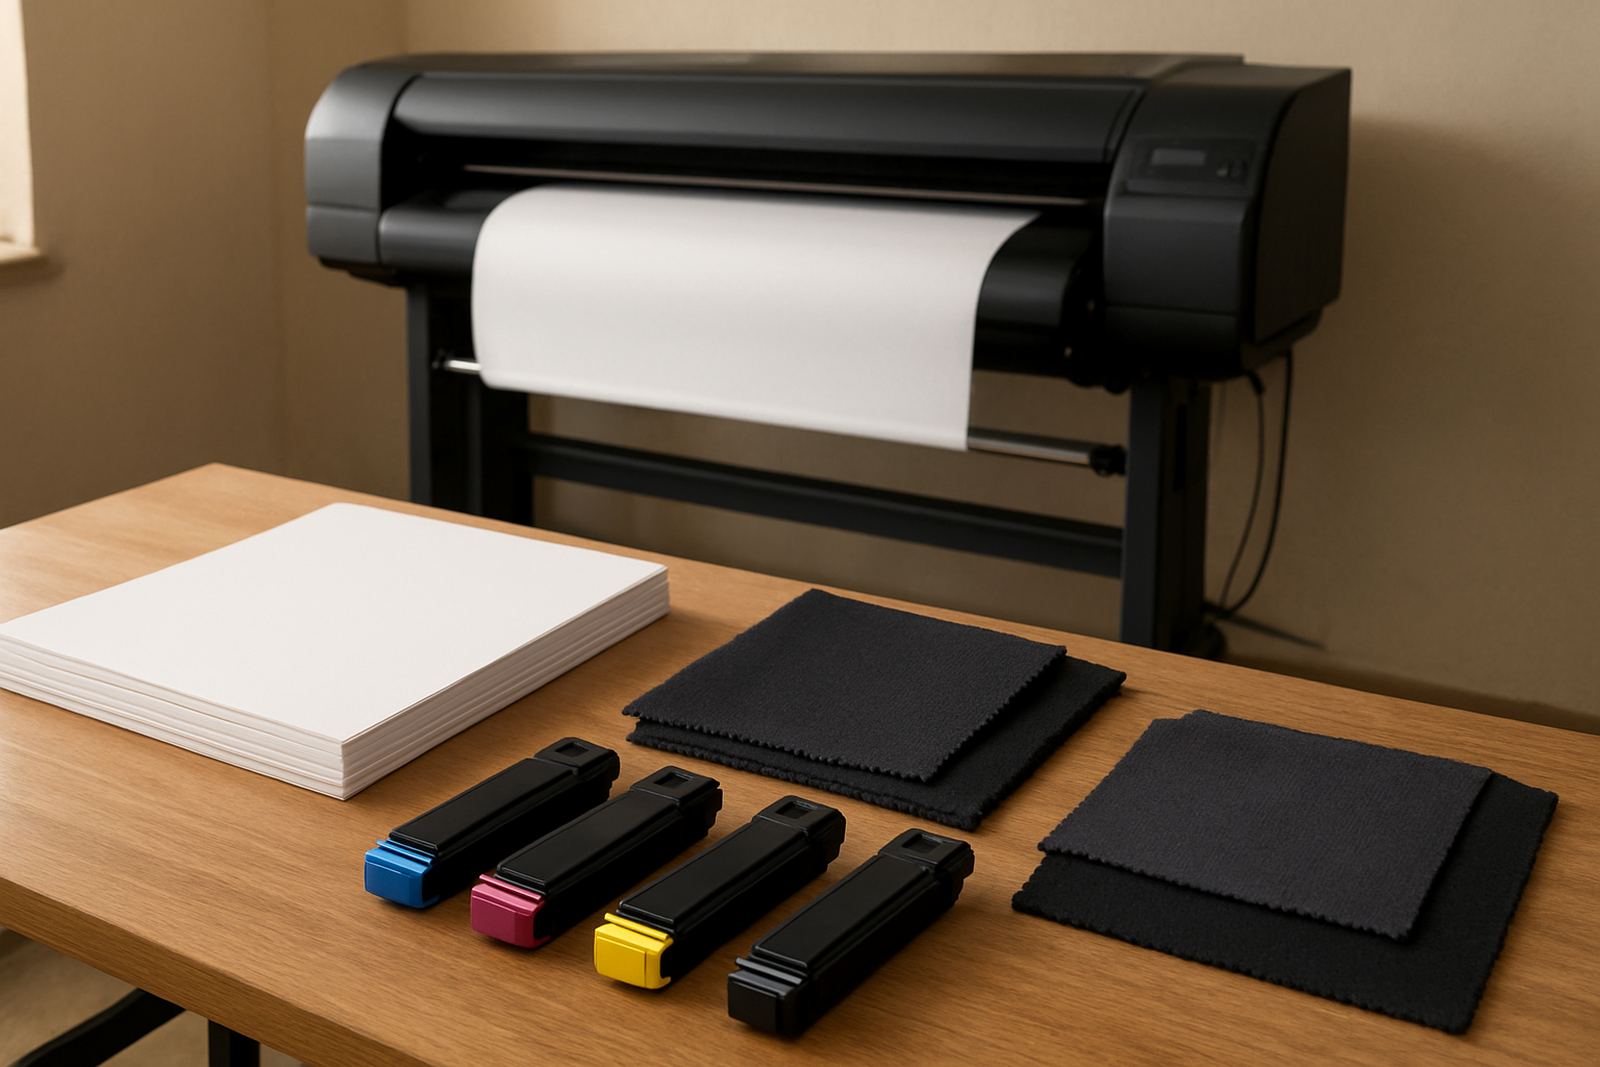
- Confirm ink, toner or transfer consumables are within spec and properly seated.
- Inspect the printhead area for dust, fibre build-up, or dried residue.
- Run nozzle or alignment checks before colour-critical work starts.
- Record the date, job type and any corrections made.
Keep that record in one place. When a client asks why a reprint looks different, you need notes that show what changed. Even a small note like adjusted profile after media change can save time later.
Use a reference job, not guesswork
One of the easiest ways to keep colour stable is to keep a standard reference job. This can be a label sheet, garment transfer sample or proof file that you print under the same settings every time. The purpose is not to impress anyone, it is to reveal drift early. If a grey turns slightly green, or a corporate red becomes dull, the reference sheet will show it before the customer does.
Choose a file with solid blocks, skin tones if relevant, fine text and small gradients. Print it on your main media sizes, for example 320 mm rolls or A3 sheets, because different widths and coatings can respond differently. Keep one clean master sample in a sleeve away from dust and sunlight. When the live print starts to differ, compare it against that sample under neutral light, not under a bright window or a coloured lamp.
Watch the media as closely as the machine
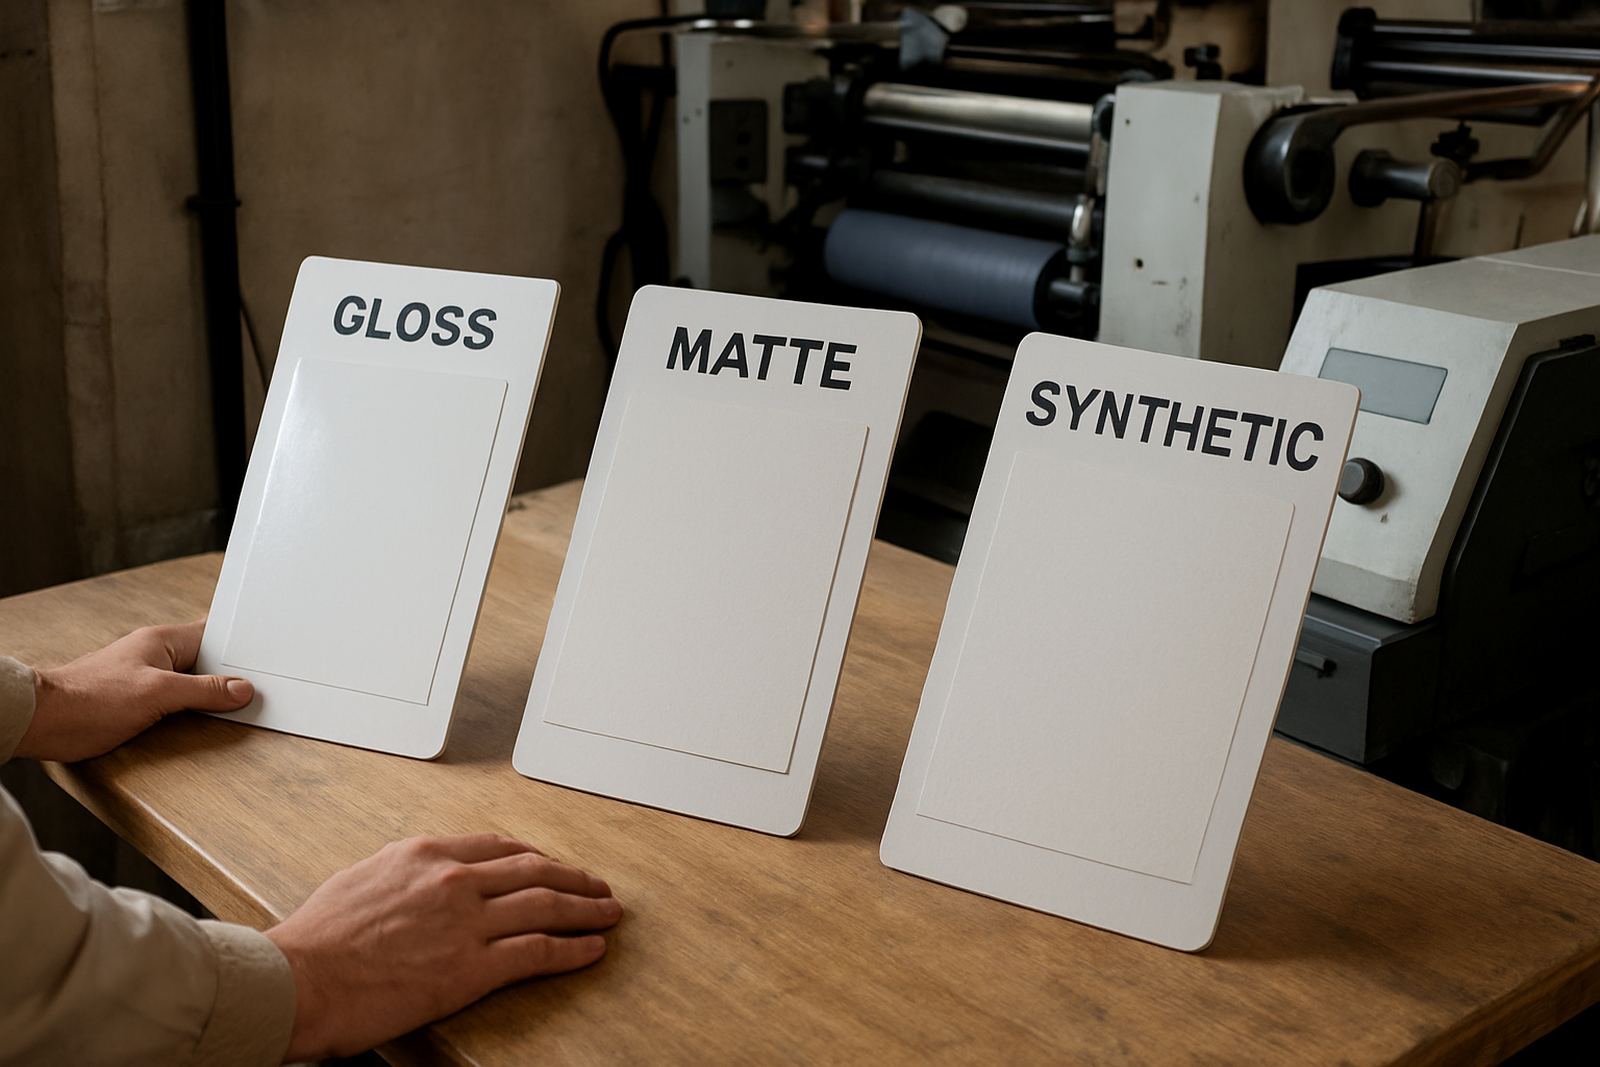
People often blame the printer first, but media is a common source of drift. Transfer film, coated paper and self-adhesive label stock all react differently to heat, moisture and storage. In Gauteng, a box kept near a loading bay can pick up dust quickly. In coastal towns, a roll stored too long in humid air can curl or feed unevenly. Once that happens, colour consistency becomes harder no matter how carefully the machine is set.
Make media checks part of the routine:
- Confirm the roll or sheet batch matches the approved job sample.
- Check storage dates and rotate stock so older material is used first.
- Look for edge damage, curling or surface contamination.
- Adjust profiling when a new media lot behaves differently.
If you print labels for food, cosmetics or retail use, municipal and client requirements may also affect material choice. A quick media check avoids reprints and keeps the output fit for the actual use case.
Do not wait for a fault before checking alignment
By the time registration drifts badly, you have already lost production time. A cleaner approach is to schedule alignment checks at fixed intervals, such as weekly for light use or daily for high-volume shops. This is especially useful where the team runs short-run colour jobs through the day and changes media often.
Pay attention to symptoms that often show up first: fuzzy text, a slight shadow on edges, a transfer image landing off-centre, or repeated colour shift from one side of the sheet to the other. These are early warnings, not just cosmetic issues. If you catch them early, corrective work is smaller and the machine stays productive. In many cases, a 10 minute check prevents a 10 hour headache later.
Keep the people side of calibration in the routine
Good calibration is partly technical and partly habit. If two operators handle the same machine differently, results will drift even when the hardware is fine. That is why training matters. Make sure everyone knows how to load media correctly, when to run checks, and what to do when results fall outside the accepted range.
For a print shop in Midrand supplying clients in Sandton, Pretoria and across the border, this consistency matters even more. A job approved on Tuesday should not come out differently on Thursday just because a different operator is on shift. The best shops keep a simple handover note, log any adjustments, and call for support when the same fault returns after calibration. That discipline protects customer trust and saves consumables.
- Train new operators on the same routine from day one.
- Assign one person to review logs at the end of each shift.
- Escalate recurring drift before it becomes a production fault.
- Plan preventive maintenance around actual usage, not only calendar dates.